Set your contact preferences
You can set your own contact preferences in your personal profile.
Select the Profile icon in the navigation bar, then select My Information to go to your personal profile. There are multiple sections for availability:
Privacy settings
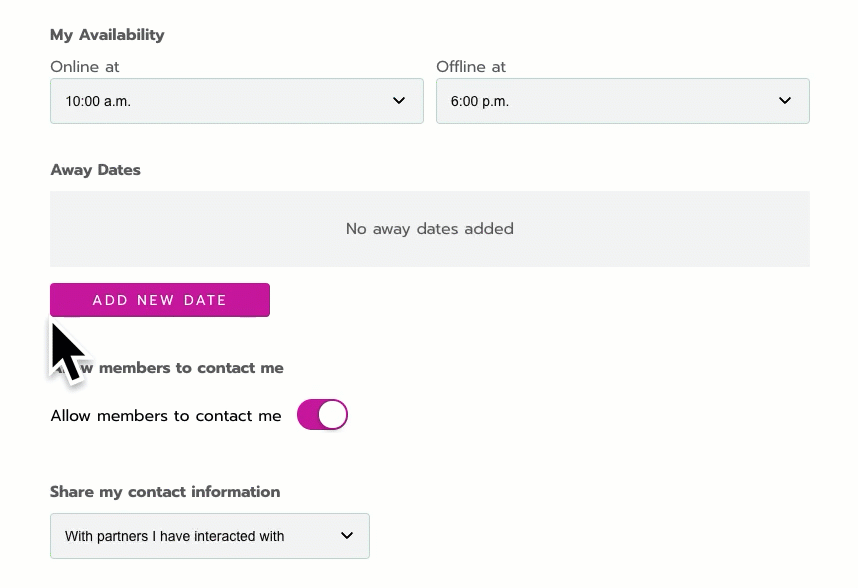
Turn on Allow members to contact me to let people send messages and schedule meetings.
When you turn off this option, no one can click the contact buttons in your profile. But you can still contact other people to start the conversation.

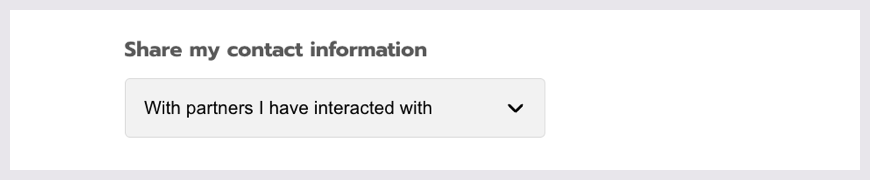
Under Share my contact information, choose With partners I have interacted with if you want exhibitors to see your identifying information (like name and email) in their analytics reports.
Or choose With no partners if you prefer to stay anonymous.
My Availability
This is the general time range when you’re available for meetings. Don’t worry about time zones! All times around the site are automatically shown in your time zone (as it’s set on your computer).
To set availability:
Under My Availability, select the time you come Online.
Select the time you go Offline.
Click Save at the bottom of your profile.

Away Dates
These are specific days and times that you’re unavailable for meetings. Don’t worry about time zones! It automatically adjusts to your time zone (as it’s set on your computer). To set one:
Click Add new date.
The default is today’s date, for one hour. To change it, click the default date.
Select a range by clicking two dates on the calendar. Successfully selected dates are highlighted. To only select one, click the same date twice.
To the bottom left of the calendar, select the time you go offline on the first date.
To the bottom right of the calendar, select the time you come back online on the last date.
To confirm, check the range listed at the bottom of the calendar.
For example,2/16 03:00 PM - 2/17 07:00 PMmeans that you’re offline from the 16th at 3 PM until the 17th at 7 PM.Click Apply. Then Click Add away date.
Click Save at the bottom of your profile.
We also block your calendar when you schedule sessions or meetings.