
Using the importer
This guide walks you through the features and functionalities of the Importer tool, which is designed to streamline the process of importing and managing data for various content types. As an admin, you'll learn where to locate the importer, understand its functionality, and ensure the quality of your imported data.
Locating the Importer
v2 Site admin
From the Site admin’s left-side navigation menu, locate and select the Import section.
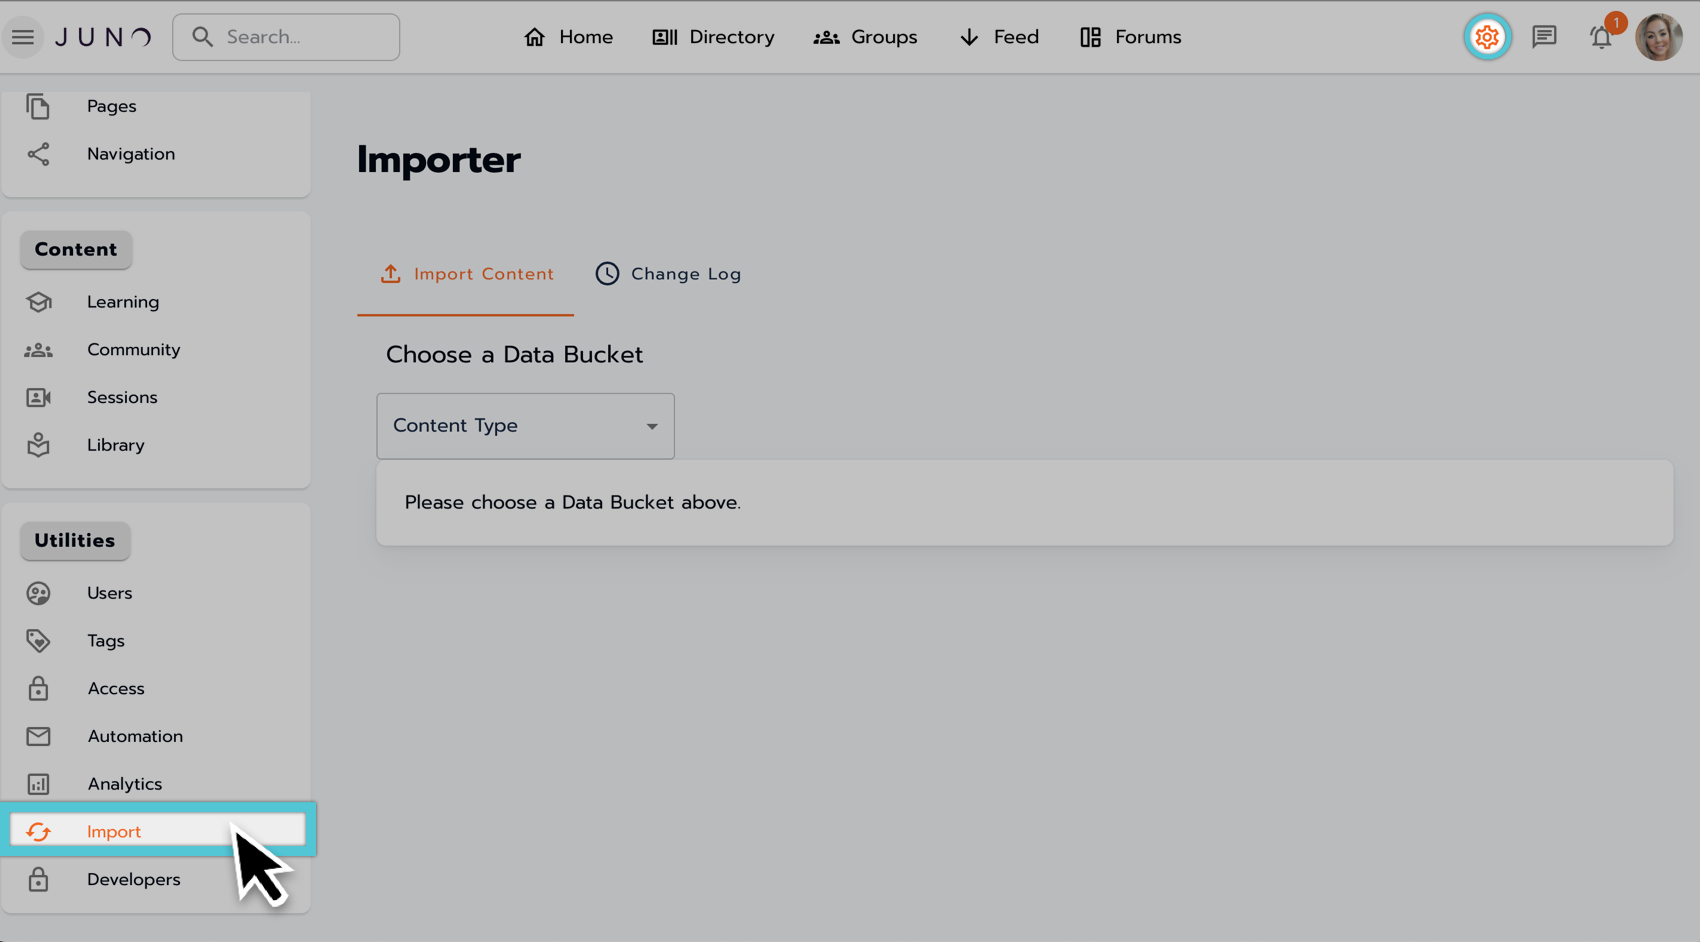
Locating the Importer from the Site admin dashboard in v2.
v1 Das admin
From the Das admin's left-side navigation menu, locate and select the Import/Export section.

Locating the Importer/Exporter from the Das admin dashboard in v1.
Using the Import tab
Once on the Import Content page, use the drop-down under Choose a Data Bucket to select the type of content you want to upload.
Drag and drop the CSV file or select the drop zone to use your file locator to upload.

Choose content to upload to the Validation Wizard in the importer.
Missing required or unrecognized fields prompts
The Importer’s Validation Wizard notifies you of missing required fields or unrecognized columns in your CSV uploads and guides you through editing and re-uploading your CSV for a successful import.
After uploading a CSV with unrecognized columns, a prompt warns you that these columns are not recognized and will not be included in your import.
Additional instruction advises you that you can discard your upload, fix your CSV, and try again.
A similar prompt will guide you in updating your CSV if the required columns are missing.
When required fields are missing, the import will not upload the CSV, instead additional instructions advise you to update your CSV and try again.

Extra headers found, and Required header(s) missing prompts.
If there are no errors in your uploaded CSV, the PUBLISH button will appear.
Select PUBLISH to finalize the import whenever the button is available.

Publishing an import file.
Real-time validation and editing
When errors occur that are not missing required columns in your CSV upload, the Validation Wizard allows you to update them and clear the errors in real time, and a Validate button appears.
Select the VALIDATE button to open the validation wizard.

The Discard and Validate buttons.
The Validation Wizard displays CSV rows with errors highlighted in red, enabling real-time adjustments.
Edit fields with errors in real-time and the red border and error status will disappear once entries become valid.
Use the Previous and Next buttons to navigate between rows with errors.
A dropdown menu also allows you to navigate to and edit any CSV row within your upload.

Correcting errors within the Validation Wizard.
Additional functionality
Discarding and starting over
Once a CSV is uploaded, the DISCARD button will appear.
Select DISCARD to remove the uploaded CSV from the drop zone.
The Validate/Publish buttons will no longer be displayed.
Follow the provided directions to proceed with a new CSV upload.
The Discard and Validate buttons.
Deleting Rows
For inline deletion, select rows and choose Delete Selection.
In the Validation Wizard, use Delete Item to delete the current row.
Use the Delete All Items With Errors button to remove all rows with errors.
Confirm the deletion of all rows in a second prompt.

Deleting rows inline in the importer.