
Manage one-on-one networking requests
There are a few ways for visitors to contact you one-on-one in your exhibitor suite. This guide helps you understand how they work and how to set them up.
Once a visitor reaches out using one of these methods, meetings and messages work just as they do around the rest of the site. For example, you can invite more people to a meeting. Learn more about how to manage meetings and messages.
|
|
Talk Now, Schedule, and Message

The Talk Now, Schedule, and Message buttons are located under each representative’s name in your suite. Below, learn more about how they work and how to set them up.
When visitors click Talk Now
The Talk Now button shows up under your name when you:
Are logged in and are anywhere on the site (except in a session).
Have no other sessions or meetings on your schedule during that time.
Turn off Do Not Disturb in the exhibitor suite editor.
You can’t see your own button, but other people can. We recommend testing it with other representatives from your team to confirm it’s set up.
When a visitor clicks Talk now:
An alert appears at the bottom of your screen with the caller's name and photo. There’s a ringing sound like a phone call.
If you miss the call or decline it by clicking the X icon, the caller is told you’re busy and to try again later. Note that we don’t currently log missed calls.
To accept the call, click the Phone icon. You and the caller automatically enter a private breakout room on the site.
Turn on your Camera and Microphone, Share your screen, or send messages in Chat.
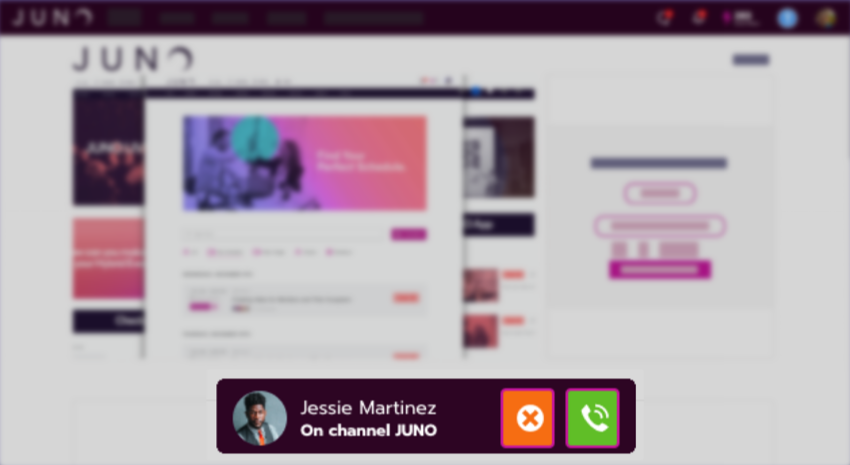
A call alert
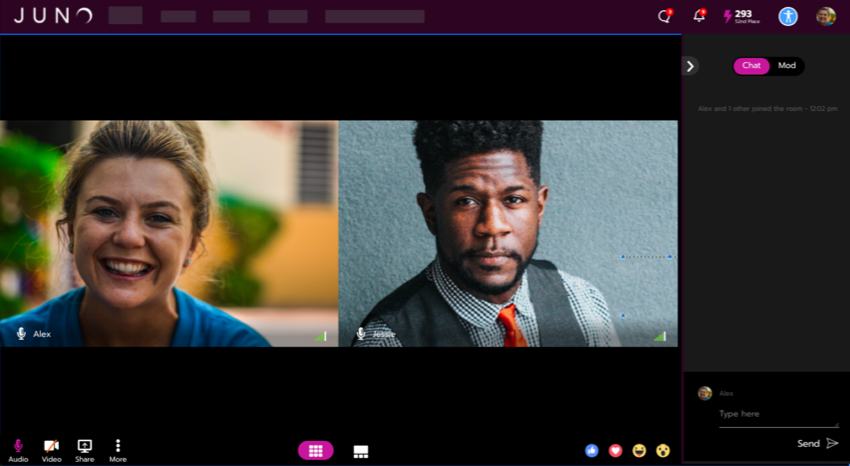
A private breakout room
When visitors click Schedule
The Schedule button always shows up under your name unless you turn on Do Not Disturb in the Representatives tab.
You can’t see your own button, but other people can. We recommend testing it with other representatives from your team to confirm it’s set up.
When a visitor clicks Schedule:
They select a time from your calendar. They can only select times you set as available. We also prevent double-booking by blocking your calendar when you schedule sessions or meetings.
You get a notification on the site. Select your profile icon, then select Notifications. Select the notification to see meeting details.
You also get a notification by email. In the email, click View meeting to see the details.
Click Attend at the top of the page to accept the request. This adds the meeting to your schedule.
Accepting a meeting invitation
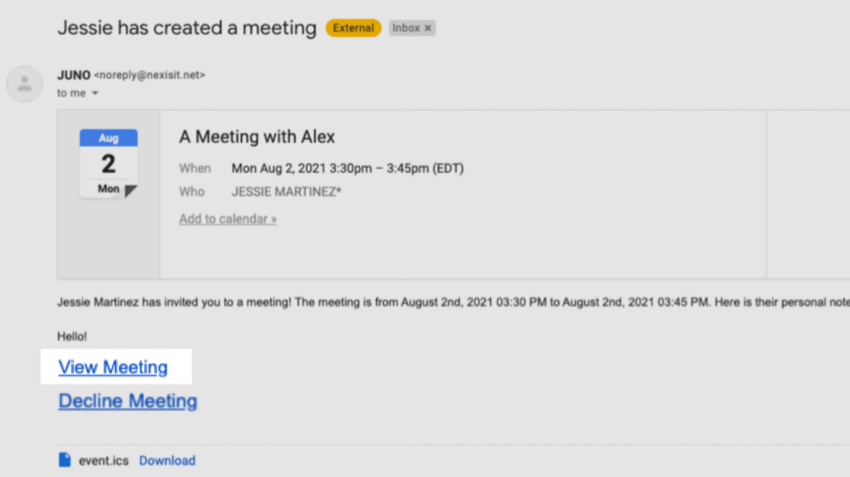
Email notification for a meeting invitation
Next, learn how to join a meeting once it has been scheduled.
When visitors click Message
The Message button always shows up under your name unless you turn on Do Not Disturb in the Representatives tab.
You can’t see your own button, but other people can. We recommend testing it with other representatives from your team to confirm it’s set up.
When a visitor clicks Message, they can send you a direct message. The conversation is saved in the same location as the rest of your direct messages, so you can view it from anywhere on the site.
To accept their message request:
The first time someone messages you, a temporary notification appears in the top left corner of the site. You also get an email notification.
Select your profile icon, then select Messages.
Accept or Decline the request. If they already sent a message, it appears when you accept.
Continue the conversation by typing a message and clicking the Send icon.
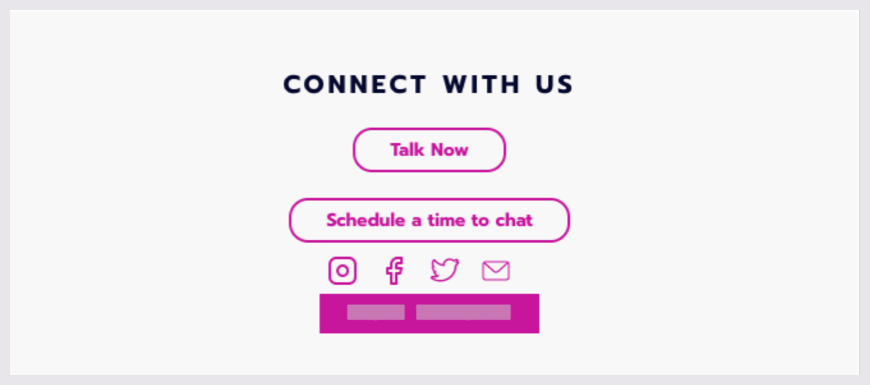
In the “Connect with us” section
This section has contact buttons that connect to multiple representatives from your team.
When a visitor clicks the Schedule button, an email notification is sent to every representative with admin rights. Any of them can accept the request and invite others.
When a visitor clicks the Talk Now button, it calls the first available representative.
When visitors click your profile photo
Contact buttons show up in your personal profile if you turn on Allow members to contact me.
You can’t see your own buttons, but other people can. We recommend testing it with other representatives from your team to confirm it’s set up.
Visitors can schedule a meeting or send a direct message by clicking your profile photo. They can do this in your suite or anywhere else around the site.