Using a virtual background with JUNO
By installing and setting up these third-party apps, you can use a virtual background in live sessions.
How to use ChromaCam on a Mac
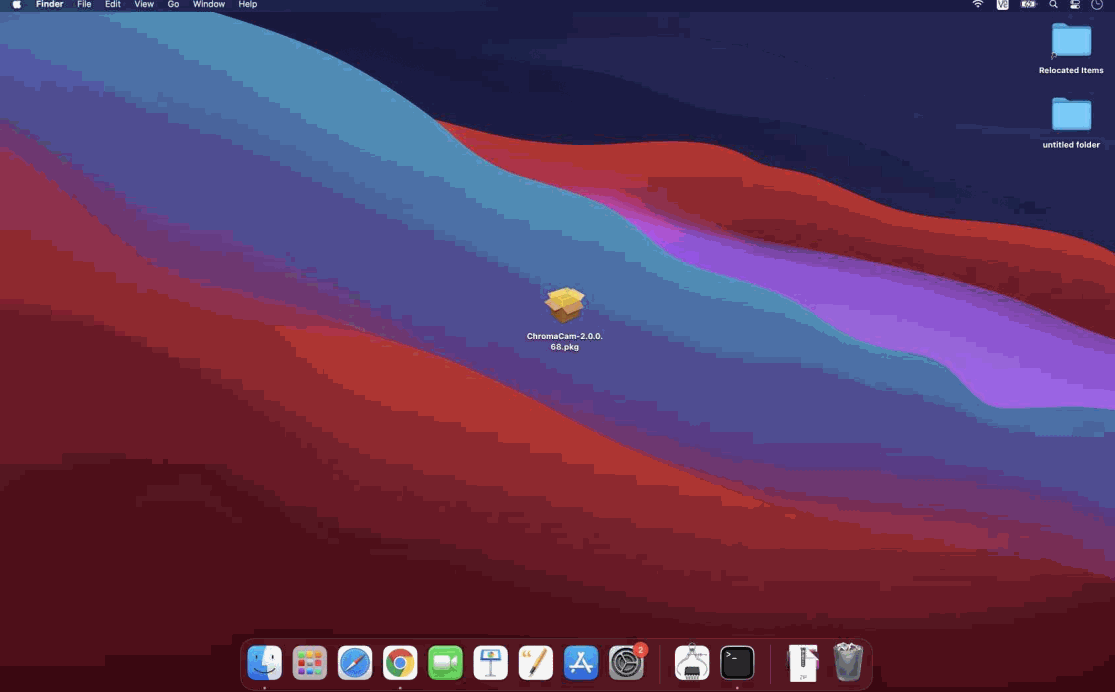
Install ChromaCam
Go to chromacam.me
Click ‘Try for Free’
Click ‘Download’
Click on the package in your downloads folder.
Follow installation instructions.
Set up ChromaCam
Create sign in or sign in with Google and click account desired.
Choose desired privacy settings as they pop up automatically.
Click settings in the options on the left.
Choose language of site.
Choose internal camera or webcam desired.
Choose a background available.
Toggle on the left between choosing backgrounds, filters, slides (for slideshow as background), and logo.
The free version currently does not display a watermark when installed on a Mac. This could change and require upgrading your account to remove the watermark.
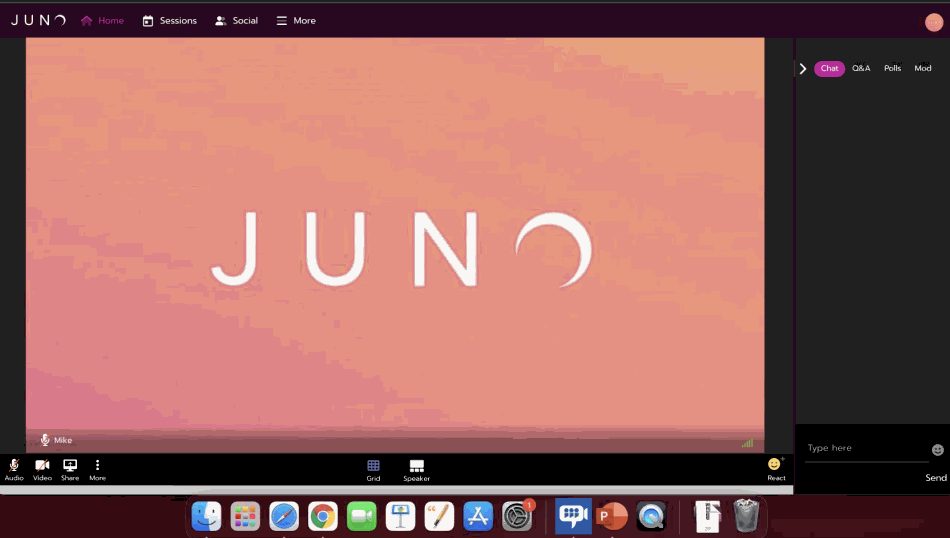
Use ChromaCam in a live session
Keep camera off in JUNO session.
Open ChromaCam on your computer.
Choose desired background/filter/slide.
On JUNO session, click the three vertical dots next to the screen share icon.
Click settings.
Change video source to ‘ChromaCam’ in the dropdown.
Enable Camera on the bottom left.
Continue to change backgrounds/change effects while camera remains on in the live session.
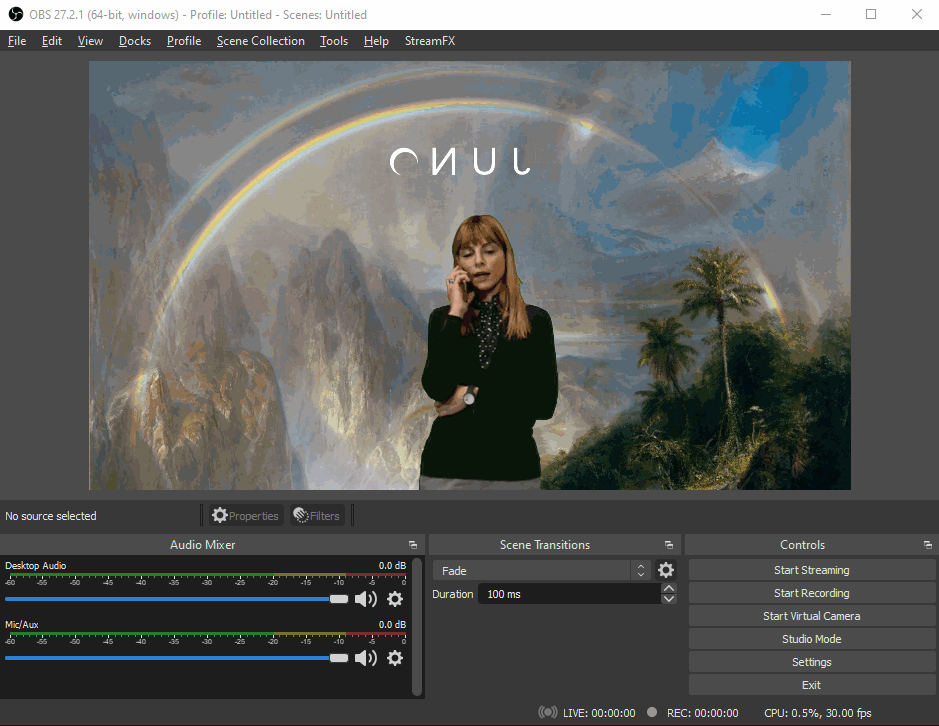
How to use OBS
OBS works best with a solid color backdrop (green screen). When using virtual backgrounds make sure you are not wearing anything green or shiny.
Install OBS
Install OBS at obsproject.com/download.
Click ‘Download Installer’
Click on the package in your downloads folder.
Follow installation instructions.
Set up OBS
Click the ‘+’ to add a Scene to the Scenes Block (name it JunoCam-VBG) and Click OK
Click the ‘+’ in the Sources Block and select Video Capture Device
Select Create new (name it Camera) then Click OK
Select your camera from the Device drop-down list and click OK
Right Click the source you just made and select Filters
Click ‘+’ in the Effect Filters block and select ‘chroma key’ and Click Close
Drag the desired background picture stored on your computer and drop it in the Sources box
Add a checkmark to Deactivate when not showing if using more than one Scene setup.
You might need to adjust the Similarity slider to get Greenscreen to fade away.
Make sure the picture you just added is at the bottom of the list.
Use OBS in a live session
Open OBS and select the desired Scene
Click Start Virtual Camera
Open a JUNO session
Click More (3 vertical dots)
Click Settings
Select the desired Audio Source and Output devices from the dropdown
Click Video
Select ‘OBS Virtual Camera’ from the Choose Video Source dropdown menu
Click Save