
Information tab: Speaker editor
Add information, images, linked accounts, actions, and tags to a speaker page.
|
|
Basic information
Add a speaker Name. This will be the title of the page.
Customize the URL of the page. If you want to type a space, use an underscore instead.
Add Preview Text (150 characters or less).
We recommend adding a job title or education level here. This text doesn’t show up on the speaker page. Instead, it shows up below the photo when multiple speakers are featured around the site. (This depends on how organizers set up the site.)

Description
The Description is the main information on the speaker page. Make it your own using the text editing tools. We recommend including:
A speaker bio.
Additional images or links.
Copy/pasting text from another rich text editor can create errors when the text is displayed around the site. We recommend typing directly into the text box, if possible. Or copy/paste from a plain text editor.

Use the text editing tools
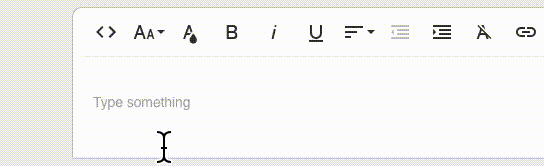
Basic tools
 | HTML editor | I | Italic |  | Text align |  | Clear formatting |
 | Font size | B | Bold |  | Decrease indent |  | Insert link |
 | Font color | U | Underline |  | Increase indent |
Open the Quick Insert menu for more tools
 | Image |  | Ordered list (numbers) |  | Unordered list (bullets) |
In the text box, click on a blank line where you want to place an element.
A Plus icon appears to the left of the text box. This is the Quick Insert menu.
Click the Plus icon and select an element to insert. See detailed instructions below for each element.
Click Save Changes at the top of the page when you’re finished.
Image
Upload a speaker profile photo. It will show up on the page and wherever speakers are featured around the site. Note that the image is cropped into a circle. Follow these guidelines for the size:
Total dimensions (w × h): 500 × 500 pixels |  |
To add an image, select the circle to choose an image from a folder on your computer. Or drag and drop an image.
To change or delete an image:
Hover over the image.
Click the Gear icon to change the image.
Click the X to delete the image.

Link with account
This is one way to link a speaker’s user account to their speaker page. Do this if you want speakers to be able to edit their own page.
The second way to add a user account to a speaker page is in the Representatives tab. Do that if you want the flexibility to turn editing permissions on or off for speakers on their speaker page.
If you are a speaker editing your own page, DO NOT touch this section unless you have instructions from your site organizer. It impacts other functionality around the site.
Select Add Account
In the pop-up window, Search for their name and select them.
Select Save Changes at the top of the page.

Actions and Status
Allow Complete lets attendees click a button to get leaderboard points for viewing the page.
Allow Favorite adds a Like button to the page.
Always keep the Status button Active so that speakers aren’t removed from the speaker list.
