
Products tab
Add products and direct visitors to your online store, using the exhibitor suite editor.
|
|
How products work
Products are showcased in a rotating carousel. It shows three products at a time, but you can add as many products as you’d like.
Visitors can browse products without leaving your suite. When they select one, it opens a detailed product description and image gallery.
Then they can click Visit page to go to your company’s online store or information page.

Example products in a rotating carousel.

An example product gallery and detailed description.
Add products
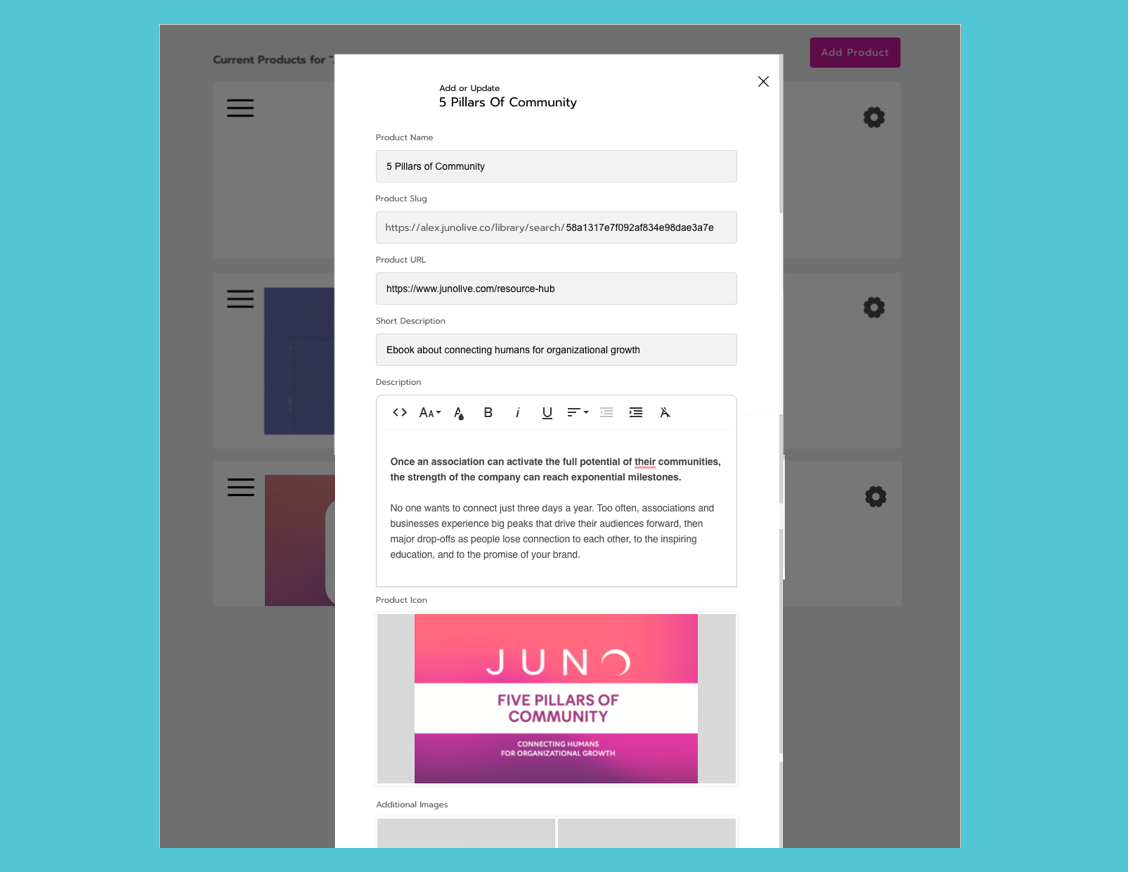
In the Products tab, click Add Product. Click the Gear icon to edit the new product.
In the pop-up window, add a Product Name.
Add your online store link in the Product URL field.
Type a Short Description that displays below the product name. We recommend a maximum of 85 characters.
Type a longer Description using the text editing tools. We recommend a maximum of 1600 characters.
Upload a Product Icon for the rotating carousel and Additional Images for the product details gallery. See specifications.
Click Save Changes at the bottom of the pop-up window.
Repeat steps 1-8 to add more products.
After adding all products, click Save Changes at the top of the page.
Use the text editing tools
You can customize the product description with text, images, and links.
Basic tools
 | HTML editor | I | Italic |  | Text align |  | Clear formatting |
 | Font size | B | Bold |  | Decrease indent |  | Insert link |
 | Font color | U | Underline |  | Increase indent |
Open the Quick Insert menu for more tools
 | Image |  | Ordered list (numbers) |  | Unordered list (bullets) |
In the text box, click on a blank line where you want to place an element.
A Plus icon appears to the left of the text box. This is the Quick Insert menu.
Click the Plus icon and select an element to insert. See detailed instructions below for each element.
Click Save Changes at the top of the page when you’re finished.
Edit and delete products
Reorder products by clicking and dragging the 3 lines icon on the left.

Edit a product by clicking the Gear icon on the right. You can change the content or delete the product.

Remember to click Save Changes at the top of the page.