
Attaching access passes to content around the site.
This guide provides instructions on attaching Access Passes to different areas of your site. Using Access Passes helps restrict certain content until users have either made a purchase or completed specific actions to gain access.
Attaching access passes to courses | Attaching access passes to sessions
Prerequisites
You must have admin access to manage Access Passes.
Ensure that an Access Pass has already been created before following these steps.
Attaching access passes to courses
Attaching an Access Pass to a Course.
Access the course catalog
Go to the site admin section and open the Courses catalog page.Select a course
Choose the course that requires an Access Pass.Navigate to course information
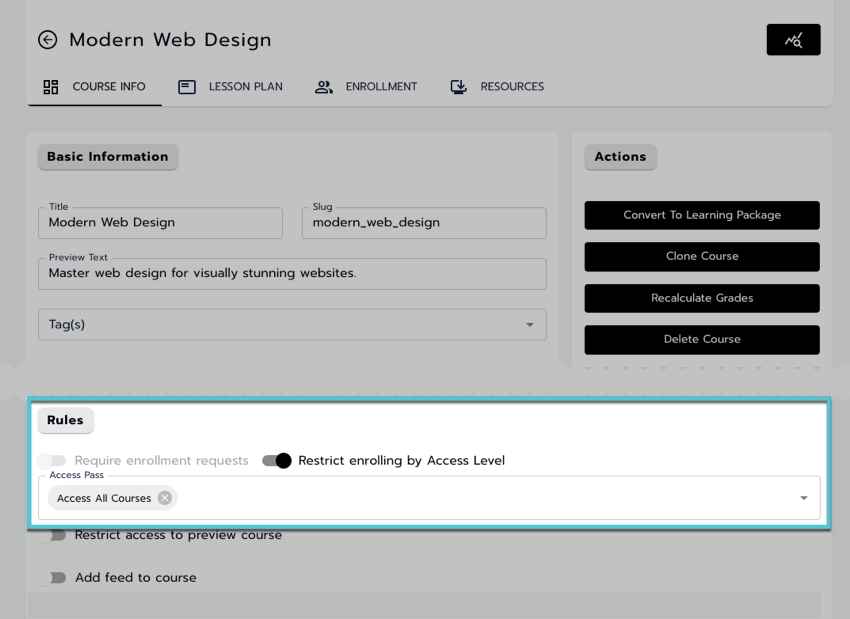
On the Course Information tab and locate the Rules section.Restrict enrollment
Toggle on the Restrict enrolling by Access Level option.Attaching the access pass
Use the Access Pass dropdown to select the relevant pass for this course.Save changes
Select Save to update the course information.
Attaching access passes to sessions
Attaching an Access Pass to a Session.
Access the sessions catalog
Go to the site admin section and open the Sessions catalog page.Select a session
Choose the session to which an Access Pass should be added.Navigate to the session information tab
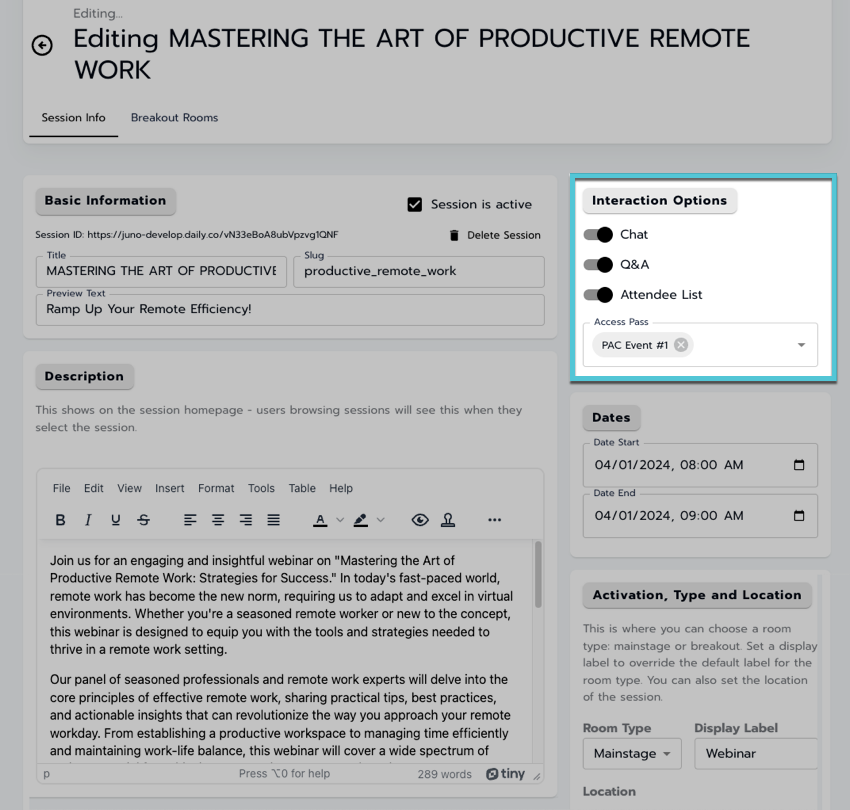
On the Session Information tab, locate the Interaction Options section.Attach the access pass
Use the Access Pass dropdown to assign the pass to this session.Save changes
Select Save to update the session information.