
Edit course lessons
This article is about the new JUNO learning management system (LMS). If you don’t see these features on your site, your platform still uses the legacy JUNO courses.
Courses are made up of multiple lessons. You can set up a lesson with a title, preview text, slug, passing percentage, text, videos, images, and questions.
Before you begin
Open the course editor to follow these instructions.
Remember to click Save at the top of the page before going to a different tab in the editor. Otherwise, you’ll lose your changes.
If you can’t edit something, it might be locked because the course has started. See Why does lesson editing lock?
Who can edit lessons?
Create a new lesson
In the Lesson Plan tab, select Create a lesson.
Give the lesson a Title. 90 characters max. Special characters not recommended.
The slug is automatically created based on the title. You can edit it if you want to. The slug is the end of the URL. Every slug must be unique. Note that spaces, special characters, and capital letters aren’t allowed. Use underscores
_instead of spaces.Select Save.
The new lesson appears at the bottom of the list.
Select the Settings icon to open the lesson editor.

Creating a lesson.
Add a title, slug, and preview text
In the lesson editor, fill out these fields:
Title: Learners see this on the lesson page and in the list of all lessons on the course home page. 90 characters max. Special characters not recommended.
Preview text: 300 characters max. A description of the lesson that appears in the lesson list before starting the course.
Slug: This was created automatically when you created the lesson, but you can change it if you want. The slug is the end of the URL. Every slug must be unique. Note that spaces, special characters, and capital letters aren’t allowed. Use underscores
_instead of spaces.

An example course home page with lesson titles and preview text.
Set up grading
Lessons can be graded or ungraded and have a passing percentage. Ungraded lessons aren’t included in the total course grade calculation. See Edit course grading settings for a complete guide to course and lesson grading.
Add lesson content: Banner image, description, and lesson parts
You can build your lesson content from multiple elements. All are optional.
Banner image: The lesson banner image displays at the top of the lesson page. If you don’t add one, a default course image is used.
Description: A field for text, images, and other media that always displays below the banner image. It can’t be reordered between the lesson parts. If you need all of the content to be flexible, we recommend using lesson parts instead.
Lesson Parts (Questions, videos, and blurbs): These are flexible elements that can be reordered. They always display below the description.
See the instructions below to learn more about each one.

An example lesson page.
Banner image
To upload an image:
Go to the lesson editor.
Either select the Banner Image section or drag and drop an image into the designated area.
Select + to upload an image from your computer.
Once uploaded, you can edit any image in the following ways:
You can change the aspect ratio to one of the following: 1:1, 4:3, 16:9, 3:4, 9:16.
You can zoom into or out of the image.
You can straighten the image.
Select Save.
Image size (w x h): 800 × 450 px
Small image file sizes help your site load faster. Follow these specifications:
Image file size: Below 200 KB unless otherwise specified.
Image file type: .jpg unless otherwise specified. This helps reduce the file size. If you need a transparent background, use .png.

Uploading a lesson banner image.
Description
In the lesson editor, edit the Description field. There are many editing tools, similar to Microsoft Word or Google Docs. Below are instructions for some we find useful.
Videos added to body, description, and/or blurb fields are not tracked in analytics reports. You also can’t set a “percentage required to watch” for these videos. Add a video lesson part instead, for this functionality.

The lesson description.
You can insert multiple images from your desktop or from a hosted location.
Small image file sizes help your site load faster. Follow these specifications:
Image file size: Below 200 KB unless otherwise specified.
Image file type: .jpg unless otherwise specified. This helps reduce the file size. If you need a transparent background, use .png.
For images saved on your desktop, drag and drop them directly into the text field.

Dragging and dropping an image from your desktop.
For images you have hosted online, insert their URLs:
Place your cursor where you want to insert the image.
Open the Insert menu.
Select Image.
In the Source field, paste the image URL.
Select Save.

To edit an image after inserting it:
Select the image. You can tell it’s selected because it has a blue outline.
Open the Insert menu.
Select Image to open its settings.
Add an Alternative Description to improve the image’s accessibility. Or resize it by changing the Width and Height.
You can make the size responsive to the screen width so that the image doesn’t get cut off. Type auto into the Height field, and a percentage into the Width field. For example, 100% makes the image fill the full width of the content area, while 50% fills half. Test it out by selecting File > Preview and resizing your browser window.
To reorder images, click and drag them to a different line.
You can insert multiple videos hosted by JUNO in our s3 bucket or you can embed videos hosted on YouTube, Vimeo, Wistia, or Brightcove.
Videos added to body, description, and/or blurb fields are not tracked in analytics reports.
Check your video’s privacy settings to make sure attendees will be able to view your video. Also note that regional laws block some video platforms. Learn more about video privacy settings.
Place your cursor where you want to insert the video.
Open the Insert menu.
Select Media.
To add an m3u8 link hosted by JUNO, select General and paste it into the Source field.
Or to embed a YouTube, Vimeo, Wistia, or Brightcove video, select Embed and paste the embed code. That code looks something like this:
<iframe width="560" height="315" src="https://www.youtube.com/embed/n61...</iframe>
Select Save.

Inserting a video.
To reorder videos, click and drag them to a different line.
Copy the URL of the page you want to link to.
Highlight text in the text field.
Open the Insert menu.
Select Link.
Paste the URL.
Select Save.

Adding a link.
To edit an existing link, right-click it and select Link. To remove an existing link, right-click it and select Remove link.
Anchors let you create links to lines in the middle of your page. Here’s how:
Place your cursor on the line you want to link to.
Open the Insert menu.
Select Anchor.
Give it an ID so that you can identify it later. For example, you might use the section heading name or the subject of the paragraph.

Insert a link somewhere else on the page. Instead of adding a URL, select the Anchor from the dropdown menu. Now that link will direct people to the anchor.

Make your page easy to read and scan by using pre-sized section headings.
Type a heading in the text field.
Place your cursor on the same line.
Open the Format menu.
Select Blocks.
Select a heading size. Your text automatically formats into that heading.

Adding a section heading.
When you copy and paste text from another text editing program or website, it sometimes brings along unwanted text formatting from its original location. There are two ways to fix this:
Before pasting the text, open the Edit menu and select Paste as text. A checkmark appears, indicating that the setting is turned on. Now, select Paste to paste your text, free of formatting.
Or after pasting the text, highlight it and open the Format menu. Select Clear formatting. This doesn’t clear some types of formatting, so it may be less reliable than the first option.
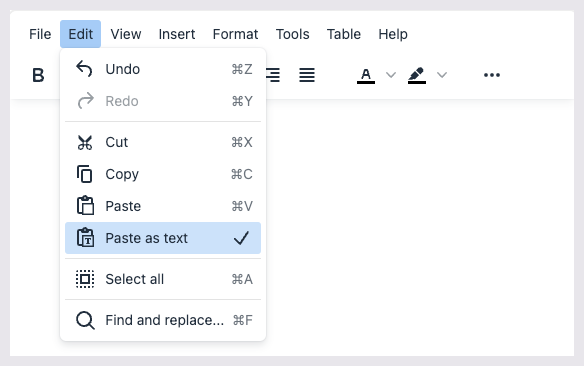
Turning on the Paste as text setting.
Question (Lesson part)
In the lesson editor, select Create a lesson part then select Question. Fill out these settings:
Question Title: 90 characters max. This title helps you identify it while editing the lesson. Users don’t see it.
Description: This is the question itself. You can include text and other elements like images and HTML.
Question Type: See the table below for details.
Answers: The answers that learners will choose from. Not all questions have answers (see the table below for details). For those that do, select Add Answer and type Answer Text for each answer you create.
Score: The points that learners earn for answering the question correctly. If there isn’t a correct answer, they earn points for any answer. See Edit course grading settings for a complete guide to course and lesson grading.
When you’re done, double-check the Question Preview to see what learners will see. Then select Save.

Creating a question lesson part
You can choose from the following types of questions.
Question type | Answer specifications |
Multiple Choice: Has at least one answer defined as correct. The learner selects one or more answers from a list. 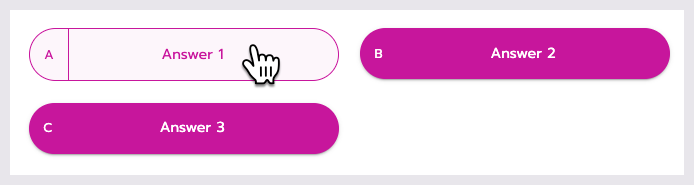 |
For graded quizzes, we recommend using primarily multiple choice questions because they are the only question type with a correct answer. The other question types don’t have correct answers, so they work best for participation or bonus points. See Edit course grading settings for a complete guide to course and lesson grading. |
Poll: Has no correct answer. The learner selects one or more answers from a list. Best for collecting user data or opinions. |
|
Fill in the Blank: The learner types an answer in an empty text box. 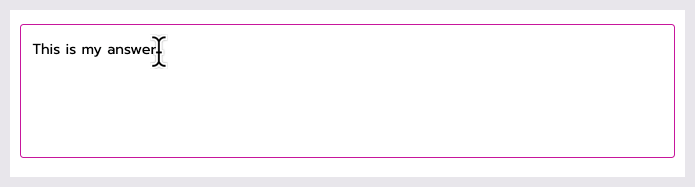 |
|
Ranking: The learner sorts a series of answers.  |
|
Rating: The learner picks a numerical value along a scale. 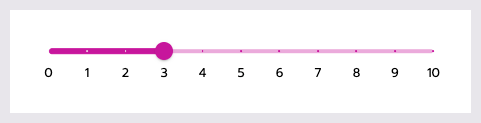 |
|
Video (Lesson part)
Videos added as lesson parts have pause/play, rewind, and restart controls. (Learners can only fast-forward once they complete the lesson.) Progress on these videos is tracked in analytics and you can require learners to watch a certain percentage of the video.

Video player controls.
In the lesson editor, select Create a lesson part, then select Video. Fill out these settings:
Video Title: 90 characters max. This title helps you identify it while editing the lesson. Users don’t see it.
Mp4 Upload:
Drag and drop, or browse your local files to upload and select Mp4 files of sizes up to 10GB. Non-MP4 files are not supported, and error messages pop up for those invalid file types. The uploaded video files are hosted on Amazon IVS.Video URL: It must be a Wistia link, YouTube link, Vimeo link, or an MP4 video URL hosted by the JUNO team in our s3 bucket or hosted externally. At this time, Brightcove links are not supported.
% Required to Watch:
How much of the video learners must watch before going to the next lesson. You can select from increments of 10. (For example: 0%, 10%, 20%…)
Check your video’s privacy settings to make sure attendees will be able to view your video. Also note that regional laws block some video platforms. Learn more about video privacy settings.

Creating a video lesson part.
Blurb (Lesson part)
Blurbs are a space for text, images, HTML, and other media.
In the lesson editor, select Create a lesson part then select Blurb. Fill out these settings:
Title: 90 characters max. This title helps you identify it while editing the lesson. Users don’t see it.
Description: This is the blurb’s content. There are many editing tools, similar to Microsoft Word or Google Docs. Below are instructions for some we find useful.
Videos added to body, description, and/or blurb fields are not tracked in analytics reports.

Creating a blurb lesson part.
You can insert multiple images from your desktop or from a hosted location.
Small image file sizes help your site load faster. Follow these specifications:
Image file size: Below 200 KB unless otherwise specified.
Image file type: .jpg unless otherwise specified. This helps reduce the file size. If you need a transparent background, use .png.
For images saved on your desktop, drag and drop them directly into the text field.
Dragging and dropping an image from your desktop.
For images you have hosted online, insert their URLs:
Place your cursor where you want to insert the image.
Open the Insert menu.
Select Image.
In the Source field, paste the image URL.
Select Save.
To edit an image after inserting it:
Select the image. You can tell it’s selected because it has a blue outline.
Open the Insert menu.
Select Image to open its settings.
Add an Alternative Description to improve the image’s accessibility. Or resize it by changing the Width and Height.
You can make the size responsive to the screen width so that the image doesn’t get cut off. Type auto into the Height field, and a percentage into the Width field. For example, 100% makes the image fill the full width of the content area, while 50% fills half. Test it out by selecting File > Preview and resizing your browser window.
To reorder images, click and drag them to a different line.
You can insert multiple videos hosted by JUNO in our s3 bucket or you can embed videos hosted on YouTube, Vimeo, Wistia, or Brightcove.
Videos added to body, description, and/or blurb fields are not tracked in analytics reports.
Check your video’s privacy settings to make sure attendees will be able to view your video. Also note that regional laws block some video platforms. Learn more about video privacy settings.
Place your cursor where you want to insert the video.
Open the Insert menu.
Select Media.
To add an m3u8 link hosted by JUNO, select General and paste it into the Source field.
Or to embed a YouTube, Vimeo, Wistia, or Brightcove video, select Embed and paste the embed code. That code looks something like this:
<iframe width="560" height="315" src="https://www.youtube.com/embed/n61...</iframe>
Select Save.
Inserting a video.
To reorder videos, click and drag them to a different line.
Copy the URL of the page you want to link to.
Highlight text in the text field.
Open the Insert menu.
Select Link.
Paste the URL.
Select Save.
Adding a link.
To edit an existing link, right-click it and select Link. To remove an existing link, right-click it and select Remove link.
Anchors let you create links to lines in the middle of your page. Here’s how:
Place your cursor on the line you want to link to.
Open the Insert menu.
Select Anchor.
Give it an ID so that you can identify it later. For example, you might use the section heading name or the subject of the paragraph.
Insert a link somewhere else on the page. Instead of adding a URL, select the Anchor from the dropdown menu. Now that link will direct people to the anchor.
Make your page easy to read and scan by using pre-sized section headings.
Type a heading in the text field.
Place your cursor on the same line.
Open the Format menu.
Select Blocks.
Select a heading size. Your text automatically formats into that heading.
Adding a section heading.
When you copy and paste text from another text editing program or website, it sometimes brings along unwanted text formatting from its original location. There are two ways to fix this:
Before pasting the text, open the Edit menu and select Paste as text. A checkmark appears, indicating that the setting is turned on. Now, select Paste to paste your text, free of formatting.
Or after pasting the text, highlight it and open the Format menu. Select Clear formatting. This doesn’t clear some types of formatting, so it may be less reliable than the first option.
Turning on the Paste as text setting.
Resource (Lesson part)
In the lesson editor, select Create a lesson part then select Resource. Select Add Resrouce in the next window and fill out these settings:
Title: 67 characters max. Give your resource a title learners can see when viewing and interacting with it.
Description: 78 characters max. Give your resource a description learners can see when viewing and interacting with it.
Image: Size (w x h): 800 × 450 px. Select the gray box or select and drag to add a cover
Upload: Select Upload File to choose from files on your device.
Max size: 10 MB.
Allowed file types:
Documents: .pdf, .csv, .xml, .zip, Microsoft Word (.doc, .docx), Microsoft PowerPoint (.ppt, .pptx, .pptm, .ppsx, .ppsm), Microsoft Excel (.xlsx, .xls, .xlsm, .xltm, .xltx, .xlsb), Apple Pages (.pages), Apple Keynote (.key), Adobe Photoshop (.psd), OpenDocument (.odt, .odp), Plain and Rich Text Files (.txt, .rtf)
Resources cannot be web links. We recommend adding links to the content description instead.
We support these major file types, but let us know if you have a different one. Our team will work with you to best support the use of that file type for your platform.

Creating a Resource lesson part.
Edit, reorder, or delete lesson parts
In the lesson editor, click and drag lesson parts (questions, videos, and blurbs) to reorder them.
Select the Settings icon to edit it. Select the Delete icon to delete it.

Reorder lessons
In the Lesson Plan tab, click and drag lessons to reorder them.
Delete a lesson
Open the lesson editor.
In the middle of the page, select Delete Lesson.
Select Delete to confirm.

Deleting a lesson.
Timed lessons
Timed lessons allow instructors to set a specific time limit for learners to complete a lesson. This feature gives instructors control and independence in managing the duration of their lessons.
Setting up a timed lesson
In the lesson editor, select the checkbox for a Timed Lesson.
Enter the duration of the lesson into the Duration field in the format (hh:mm: ss).
Ensure that the duration is specified accurately according to the time you want learners to have to complete the lesson.
Example: If you want learners to have 30 minutes to complete the lesson, you would enter 00:30:00 in the duration field.

Setting a timer for a lesson.
Features of timed lessons
Automatic Submission
Once the time limit set for a lesson expires, learners are alerted by the Time's Up popup, and their lesson is automatically submitted.

Times Up! popup
After submission, learners can no longer make changes or interact with the questions in the lesson unless the ability to retake the lesson has been added.
Although learners are unable to interact with questions once the time has expired, they still have the option to go back and access videos and other content within the lesson.
Skipped questions and unwatched videos
If learners attempt to complete a lesson that has not reached its time limit, they will be prompted with the Skipped Questions popup if they have not answered all the questions.

Skipped Questions popup
Similarly, if there are required videos in the lesson, learners will encounter the Unwatched Videos popup if they have not watched the necessary percentage of the videos.

Unwatched Videos Popup
Lesson retakes
Lesson retakes allow learners to redo a lesson after completing it to improve their understanding or achieve a better score. By offering retakes, learners can reinforce their understanding, improve their performance, and engage more deeply with the course content.
Setting up retakes on a lesson
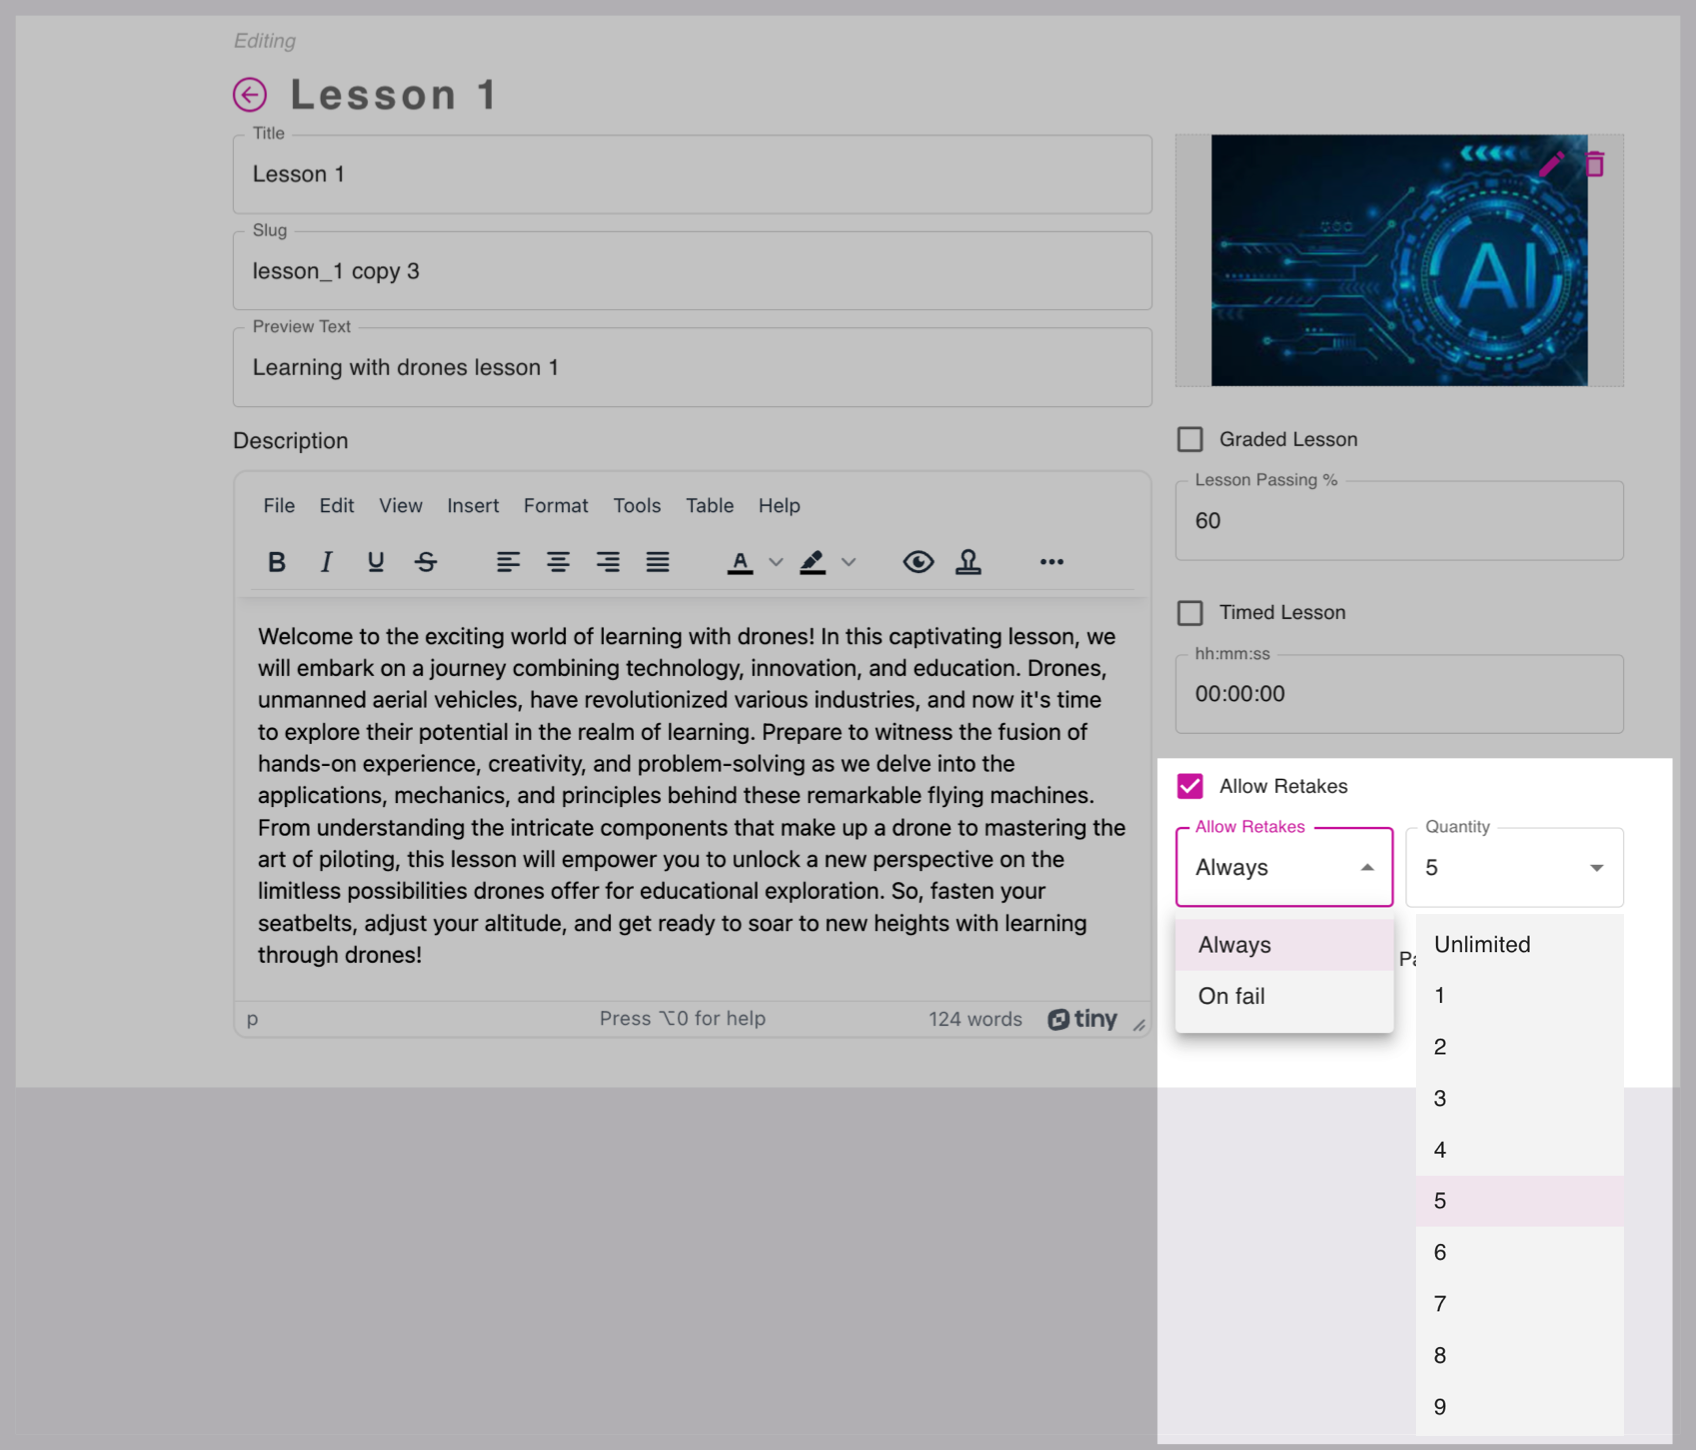
Set up retakes in the lesson editor by enabling the Allow Retakes checkbox. Choose from the following options in the Allow Retakes dropdown:
Always: Learners can retake the lesson regardless of pass or fail.
On Fail: Learners can retake the lesson only if they fail.
In the Quantity dropdown:
Unlimited: Learners can retake the lesson without limits based on the Allow Retakes setting.
Example: If Allow Retakes is set to Always and Quantity is set to Unlimited, learners can retake the lesson without restrictions.
If Allow Retakes is set to On Fail and Quantity is set to 5, learners can retake the lesson up to 5 times only if they fail.
Choose Options for up to 9 to allow learners to retake the lesson up to nine times based on the Allow Retakes setting.
Setting up retakes on a lesson.
Save the settings to apply the retake rules to the lesson.
Randomize the lesson part order
You can improve the learning experience by randomizing lesson parts. Instead of a fixed order, the system rearranges them randomly, offering:
Better Learning: Avoid memorization for a deeper understanding.
Less Guessing: Remove predictability for more thoughtful engagement.
Fair Assessment: Ensure impartial evaluations by minimizing the impact of a fixed order.
Personalized Learning: Make each experience unique with adaptive learning.
To enable, go to the lesson editor and check Randomize Lesson Part Order in the settings.
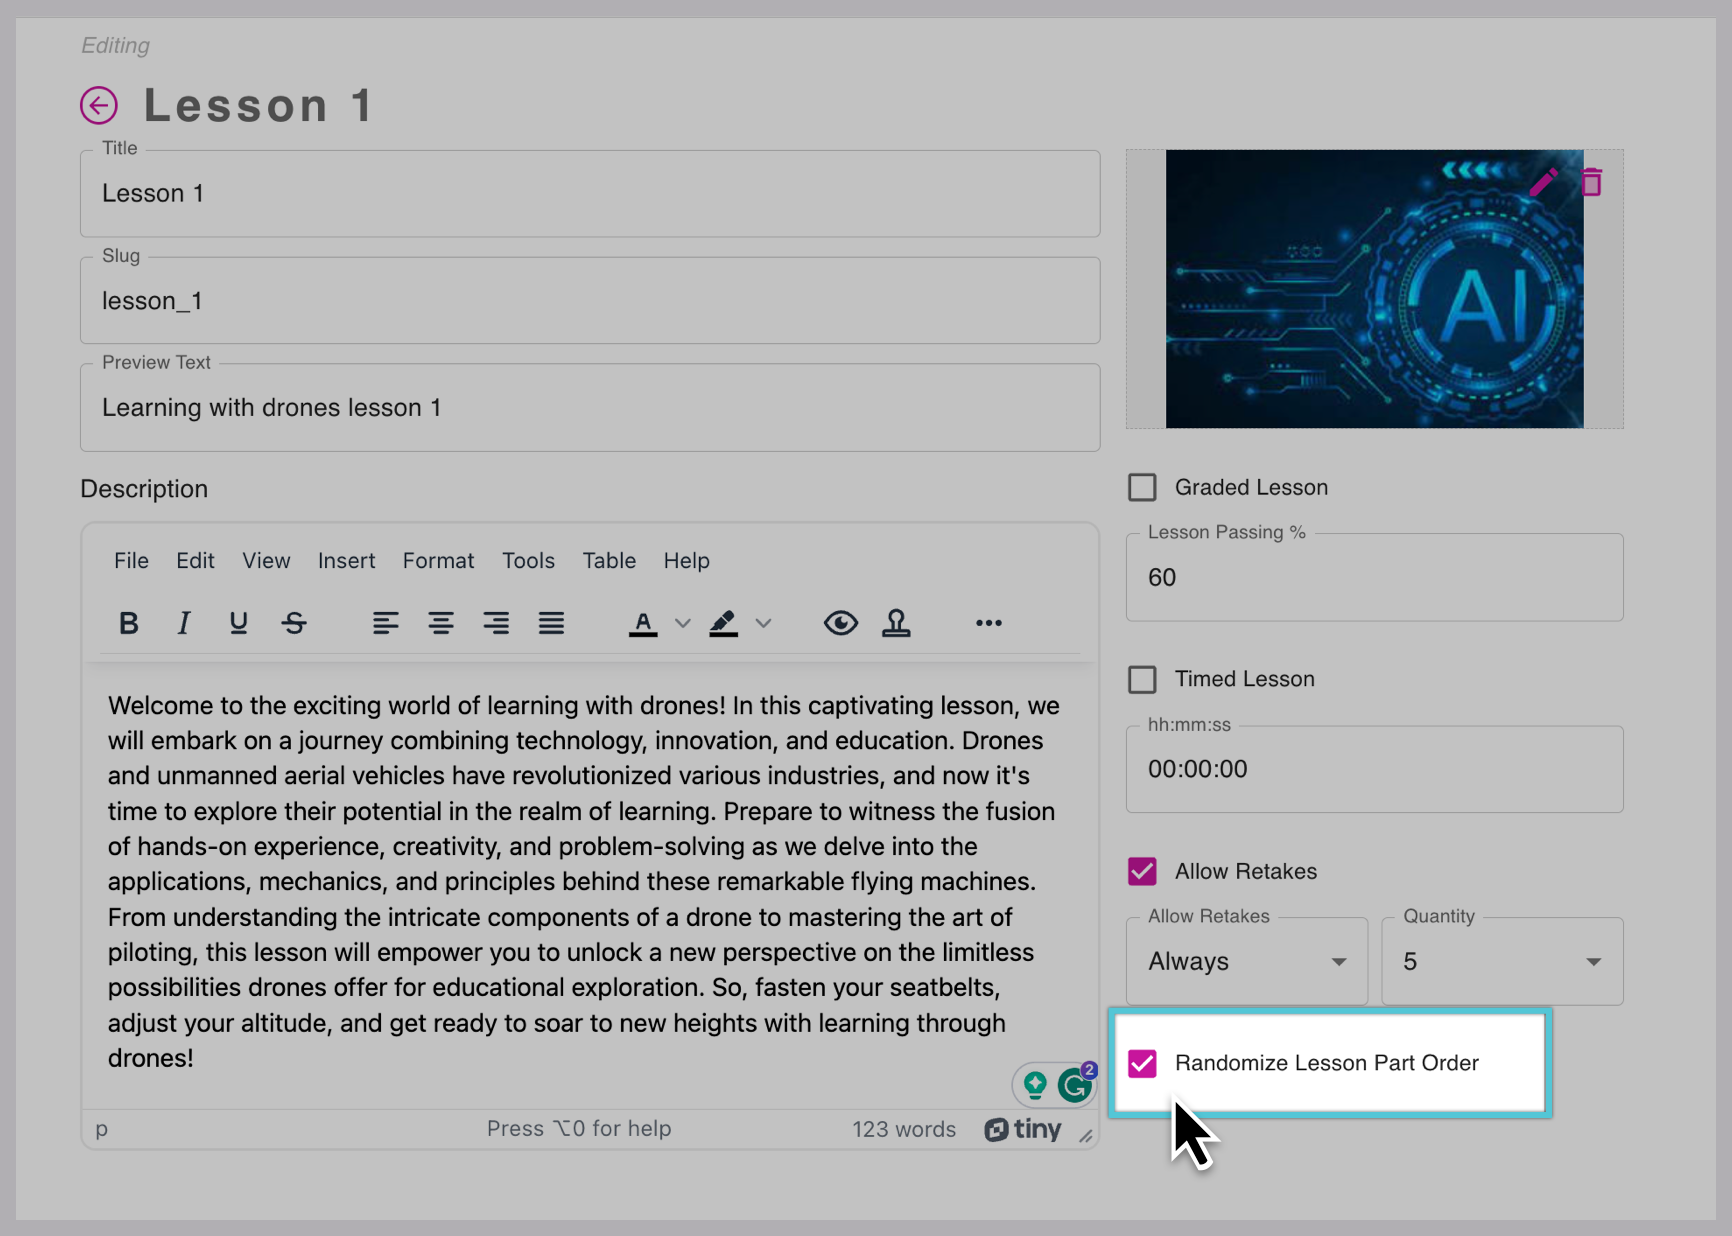
Enabling Randomize Lesson Part Order in the Lesson Editor.
Save the settings to apply the retake rules to the lesson.
Related articles
- Creating or importing learning packaged courses
- Create, add and manage prerequisites
- Add required or granted prerequisites
- Attaching access passes to courses
- Attaching an education credit to a course in the course editor
- Education credits and course information pages
- Attaching a certificate to an education credit
- Creating Education Credits (EC) in Das Admin
- Attaching an access pass to an education credit
- Add instructors to a course
- Add instructors to a course
- Edit course resources
- Enroll, remove enrollment, add to waitlist, and indicate course completion status for learners.
- Edit course enrollment settings
- Edit course resources