Information tab
Add information, images, actions, and tags using the exhibitor suite editor.
|
|
A video walkthrough of the information tab.
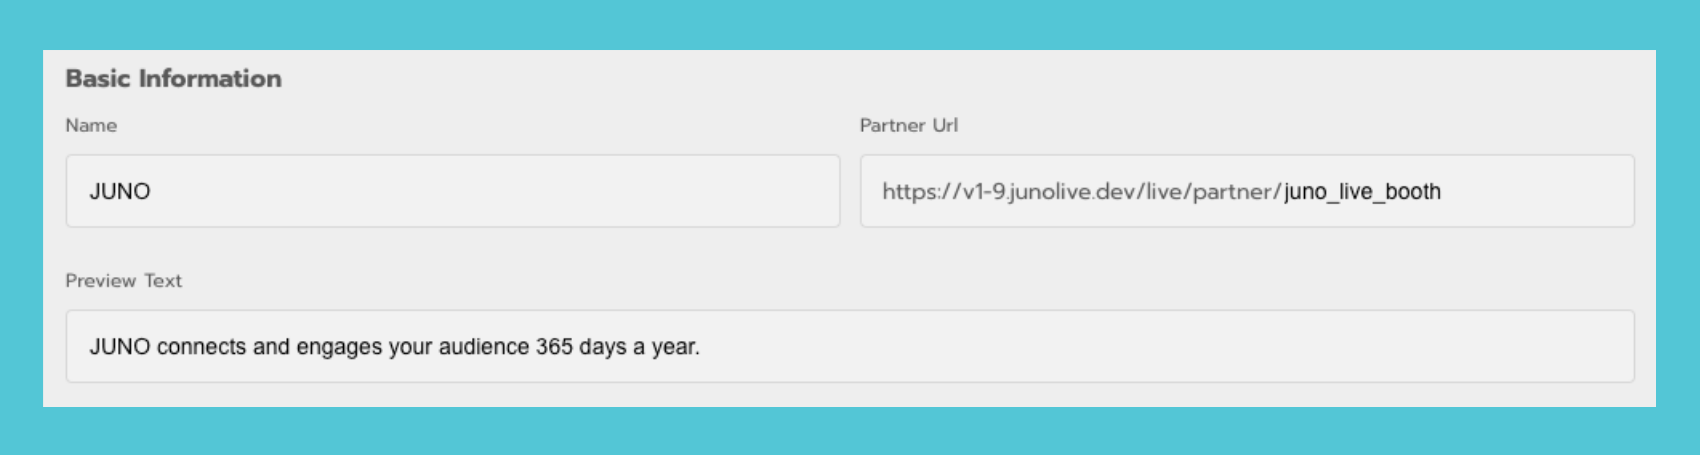
Basic information
Add your organization Name.
Customize the URL of your exhibitor suite.
Add Preview Text (150 characters or less).
This text doesn’t show up in your suite. It shows up below your organization name when multiple exhibitors are listed on a page. (This depends on how organizers set up the site.)
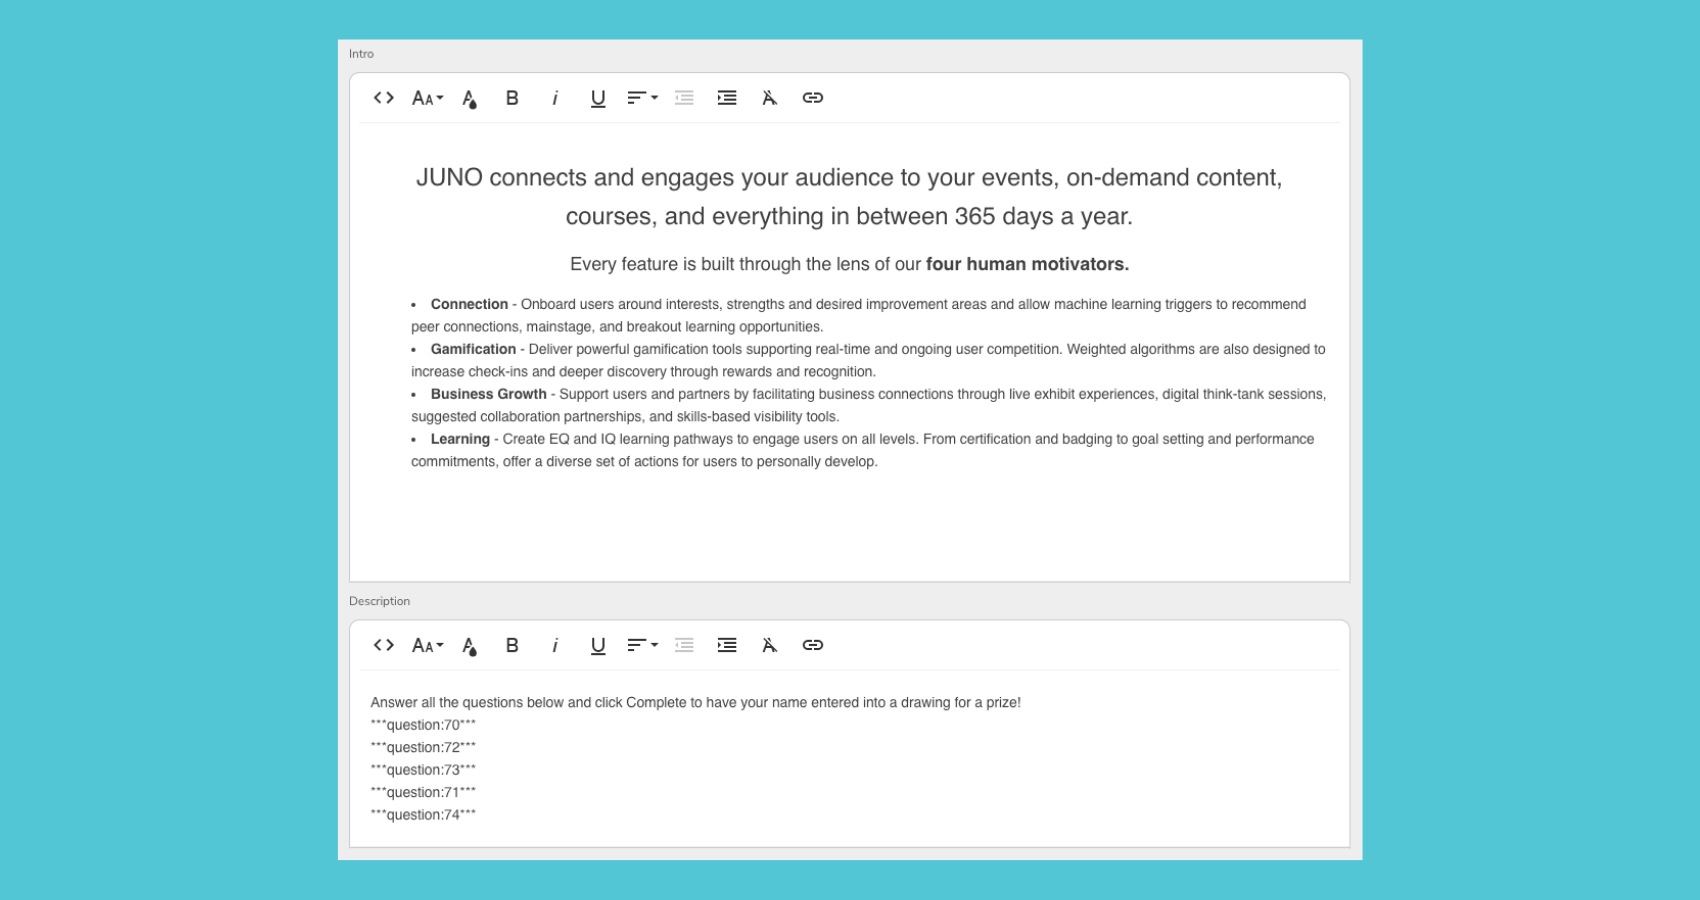
Intro and Description
The Intro shows up near the top of your suite. Make it your own using the text editing tools. We recommend including:
Your organization’s bio.
The main information you want visitors to know.
The Description shows up near the bottom of your suite. The text editing tools are similar to the Intro section. We recommend including:
Interactive questions for visitors. This is where you insert questions you created in the Questions tab.
Extra information and media.
Use the text editing tools
Basic tools
 | HTML editor | I | Italic |  | Text align |  | Clear formatting |
 | Font size | B | Bold |  | Decrease indent |  | Insert link |
 | Font color | U | Underline |  | Increase indent |
Open the Quick Insert menu for more tools
 | Image |  | Ordered list (numbers) |  | Unordered list (bullets) |  | Question |
In the text box, click on a blank line where you want to place an element.
A Plus icon appears to the left of the text box. This is the Quick Insert menu.
Click the Plus icon and select an element to insert. See detailed instructions below for each element.
Click Save Changes at the top of the page when you’re finished.
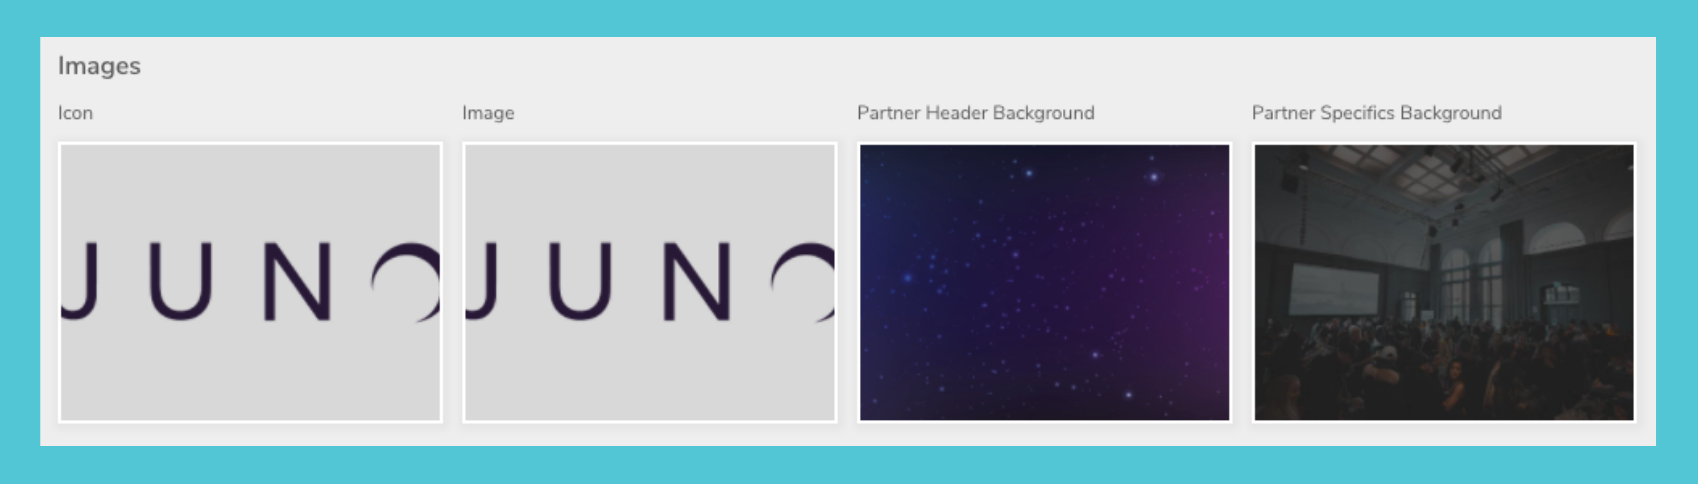
Images
Upload a logo and images to brand your suite. See more details about images sizes and locations.
To change or delete an image:
Hover over the image.
Click the Gear icon to change the image.
Click the X to delete the image.
Actions
Allow Complete lets visitors click a button to get leaderboard points for viewing your suite.
Allow Favorite adds a Like button to the top right corner of your suite.
Allow Comments lets visitors engage in a comments section at the bottom of your suite. Anyone can write and view comments.
Allow Download needs to be turned on if you add content to the Resources tab.

Turn on these actions to connect directly with your visitors:
Allow Live Chat adds a group chat where visitors and exhibitors can start conversations.
Allow Q&A adds a Q&A tab to the chat window. Visitors can submit questions and you can respond directly to them.
Allow Anonymous Questions gives visitors the option to anonymously post Q&A questions and chat messages.
Allow Q&A Moderation lets you review visitor questions before making them public.
Allow Visitor Awareness adds a People tab to the chat window so that you can see who’s in your suite right now. Normally, this is only visible to exhibitor representatives and site admins. Talk to your site admin if you’d like visitors to be able to see other visitors.

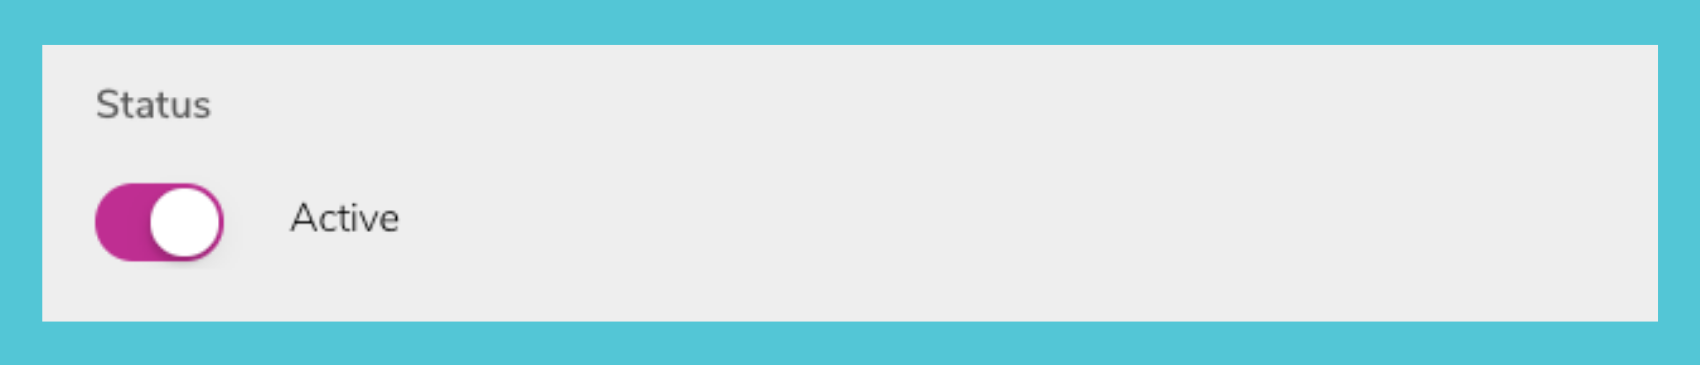
Status
Always keep the Status button Active. If you deactivate it, you won’t be able to find your suite on the site. Tip: Save the page URL to get back in if your suite is accidentally deactivated.
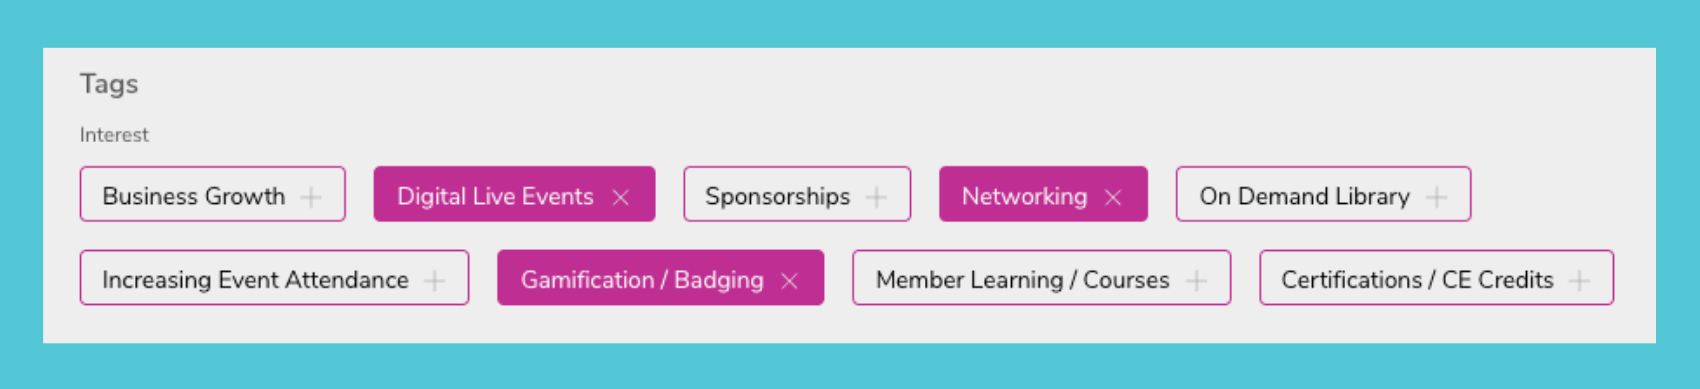
Tags
Select relevant tags to boost your organization’s visibility across the site. Attendees might filter search results by tag or get recommendations based on their interests.